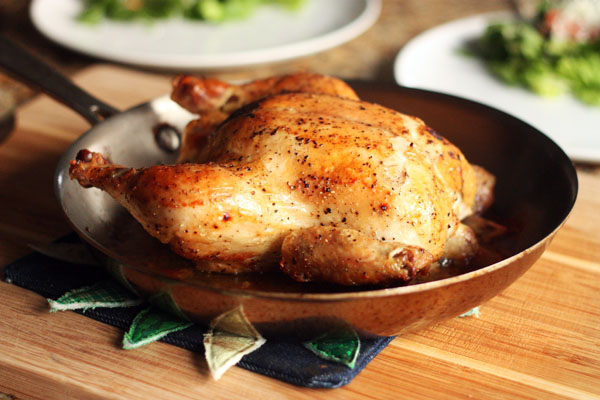
Weeknight Roast Chicken
Like many of you, I assume, I grew up eating chicken at home primarily in the form of boneless-skinless chicken breast. Legs and thighs were treats found mostly on coveted fried chicken platters that showed up at potlucks, or in occasional bucket o’ chicken. And whole chickens? Even more rare!
I decided a few years ago that I wanted to try to buy as much of meat from local producers as I could, which is admittedly more expensive than trays of shrink-wrapped meat from the grocery store. For some cuts, it was oppressively expensive: boneless-skinless chicken breast ran anywhere from nine to fifteen dollars a pound (gulp). As a result I began to explore other cuts of meat, and one of my favorites was the whole chicken. Not only does a whole chicken yield a variety of cuts and flavors, but I can split a whole chicken into at least three meals for Brad and I. And I can use the spare parts for stock. Definitely the biggest bang for my buck. Sometimes I choose to break the chicken down for parts while it’s still fresh (using an excellent how-to video that I swear by) and sometimes I choose to cook it whole. And, for a number of reasons, this is my favorite way to do the latter.
Reason #1: It’s fast. Seriously, from start to finish, this chicken can be ready to eat in an hour. There’s very little prep – no stuffing, to tying of feet, no oiling, and no slow-roasting. This bird cooks HOT for 45-50 minutes. And though the original recipe recommends seasoning at least two days in advance, I’ve never been disappointed in my method of seasoning immediately before cooking.
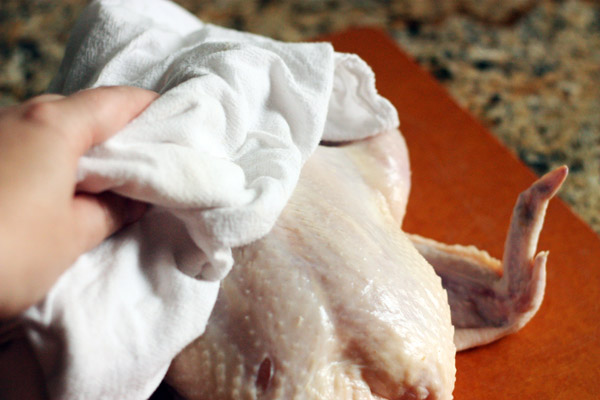
Reason #2: Very little fuss. Yes, you do have to dry the bird. And I used to find this annoying when I used napkins and paper towels that left behind little flecks of themselves. But after trying a towel one night, I found that the chicken dried more quickly and easily AND there were no flecks. And the towel will survive – nothing a run through the washing machine won’t fix.
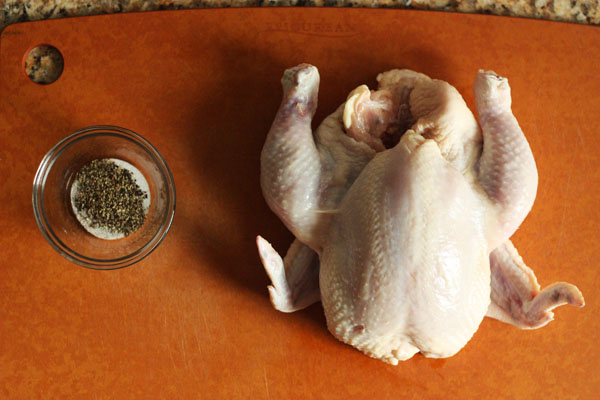
Reason #3: Very few ingredients, very few dishes. All you need is a chicken, some salt, and some pepper. There’s plenty of fat, so oil is not really necessary. And though you can easily gussy this bird up with herbs or garlic, I love it just the way it is with the tried and true pair. And for cooking? No roaster, no multi-pan sequence, just a frying pan. And a cutting board. But that’s it!
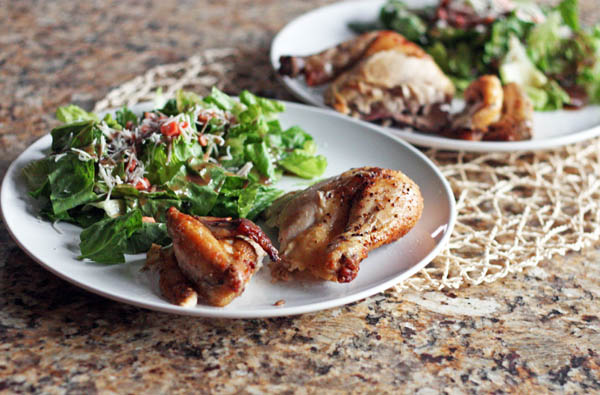
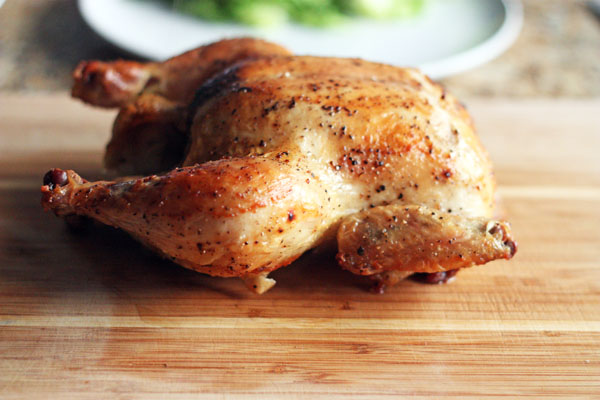
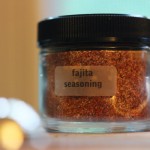
Reason #4: Crazy-awesome flavor and texture. This bird has everything: crisp, golden-brown skin, flavorful meat (both dark and white), and not a bit of dryness anywhere on it. Plus, it lasts all week: I tend to serve the leg quarters and wings the first night and then make each breast into another meal, usually as the feature of fajitas or a topping for pizza.
If you’ve ever shied away from whole chickens because they seem daunting, I urge you to give this method a shot. It’s a simple preparation, but as I find to be more and more often the case, the simplest preparations are the best ones. Buying and cooking whole chickens are a great way to appreciate and enjoy every cut of the bird. Personally, I’m a fan of the thigh… what’s your favorite bit?
Weeknight Roast Chicken
Adapted from Smitten Kitchen
1 roasting chicken, about 3-4 pounds
1 tsp sea salt
1 tsp freshly ground black pepper
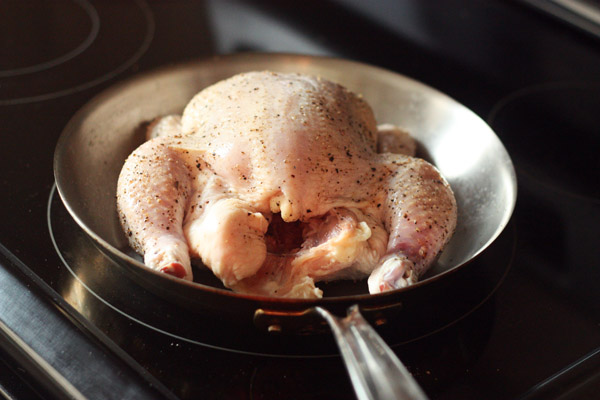
Preheat the oven to 475°F. Heat an oven-safe roasting pan or skillet (I use a 10-inch frying pan) over medium heat on the stove. Combine the salt and pepper in a small bowel and stir until mixed. Remove and discard the lump of fat that sits just inside the cavity of the chicken. Rinse the chicken thoroughly inside and out, then pat as dry (inside and out) as thoroughly as you can. I prefer to use a tea towel (that then goes straight into the laundry!) as napkins or paper towels tend to leave behind little flecks and don’t get the bird as dry. The drier the bird, the browner and crispier the skin will be.
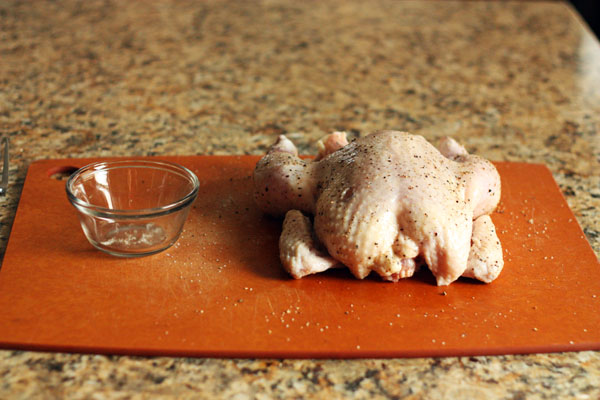
Rub the chicken all over the outside with the salt and pepper mixture. Tuck the wings under the shoulders. Once the oven has reached 475°F, carefully transfer the chicken breast-side up to the pre-heated frying pan. The chicken should sizzle loudly when you place it in the pan. Place the pan in the oven on a center-rack.
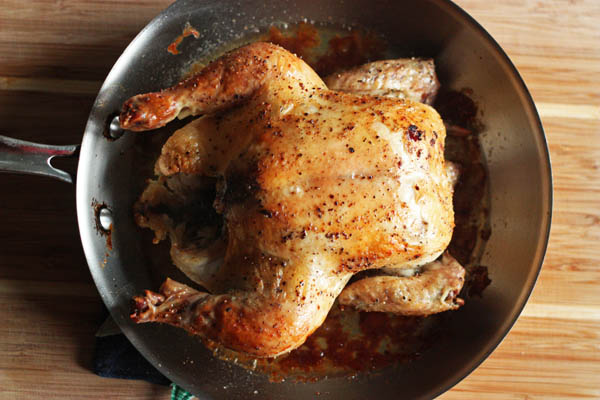
Roast the chicken for 30 minutes, by which point it should be starting to brown nicely. Gently loosen the chicken from the pan (drying the bird and pre-heating the pan should keep sticking to the minimum) and flip it over so it is breast-side down. Return to the oven and roast for another 20 minutes (10-15 minutes if it’s a very small bird), then flip the chicken back over to re-crisp the breast-side skin.
Remove from the oven and place the chicken on a cutting board. Though your chicken should be well-roasted by this point, you can insert a meat thermometer in the deepest part of the breast to ensure it is at the temperature of your choice. Allow the chicken to rest for 5 minutes before carving into pieces. If you like, you can use the drippings in the pan as the base for a gravy.


Victoria
September 30, 2014 @ 9:28 pm
I love roast chicken! So good and so easy. This looks delicious :) I am definitely going to have to try it!