Frosted Fluffy Sugar Cookies
As someone who bakes rather a lot of cake, it might surprise you to know that I actually don’t bake many cookies. If you invite me to a dinner party, you’re more likely to answer the door to find me carrying a teetering stack of tender cake layers, smeared with berries and whipped cream, than a plate of half a dozen cookies. Well, I should clarify: I make a LOT of chocolate chip cookies, as it is Brad’s favorite and one recipe that I could likely make in my sleep. No, I haven’t posted that recipe here yet, but I promise I’ll remedy that situation soon.
In the meantime, though, I desperately want to talk about this cookie.
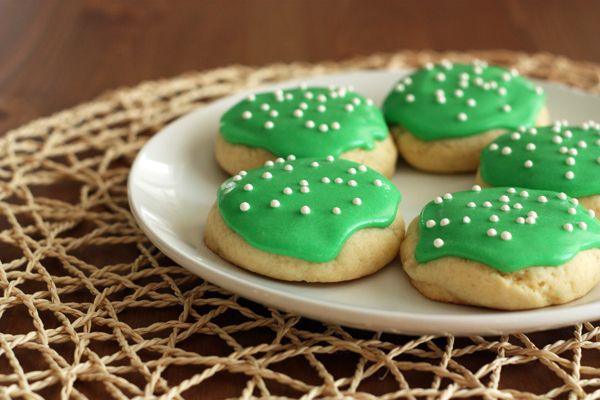
If you’ve ever enjoyed one of those Lofthouse cookies, or the grocery-store knock-offs, this recipe is for you. Not only are these cookies SHOCKINGLY easy to make, but they are soft and fluffy and flavorful and cute and everything you want them to be without the weird sugar-y aftertaste of their inspiration.
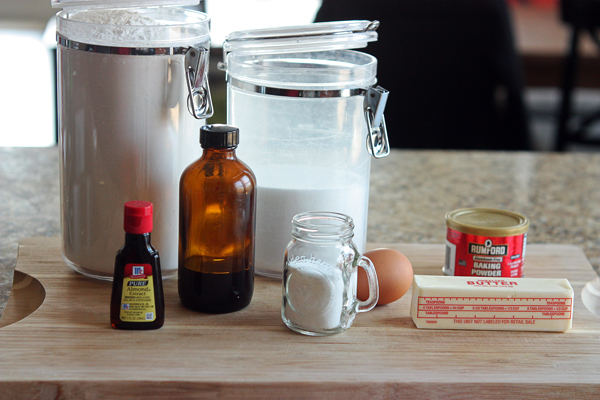
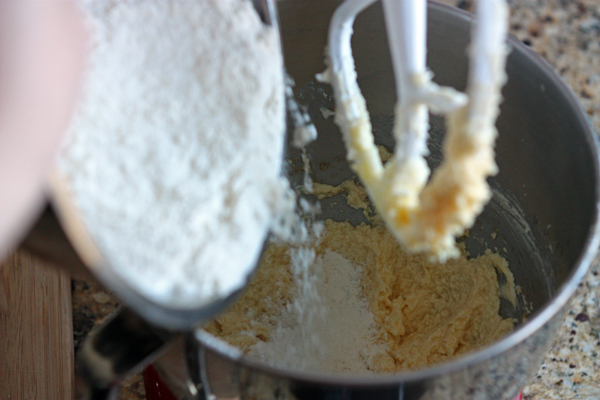
We start with a pretty basic array of ingredients. Flour, baking powder, and salt combine to form the dry set, butter and sugar cream together to form the base, and egg, vanilla, and just a bit of almond extract wrap it all up.

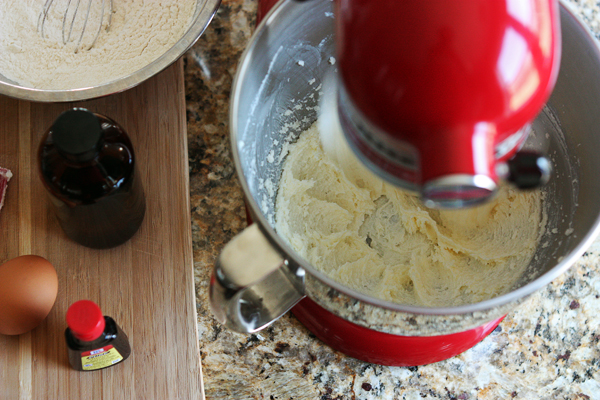
A tip for these (and really all) cookies: cream the heck out of the butter and sugar! The more they whip together, the more air will be introduced, which will yield a fluffier cookie. On the other hand, once you add the dry ingredients, you’ll want to mix the dough just until it is thoroughly combined.
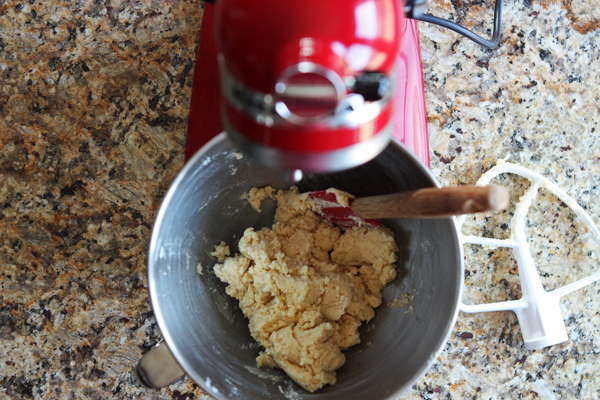
Once ready, the dough chills for an hour or so. It doesn’t have to be super-cold since you won’t be rolling it out, but the time in the fridge does help the flavors blend and the cookies to hold their shape.
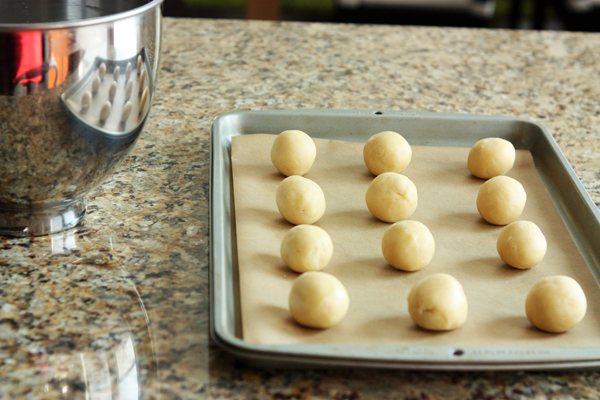
After the dough has chilled, roll it out into balls between the palms of your hands. I’ve found that I always make them too small and end up needing to add more, so shape all the balls before you press them with the heel of your hand to flatten them slightly.
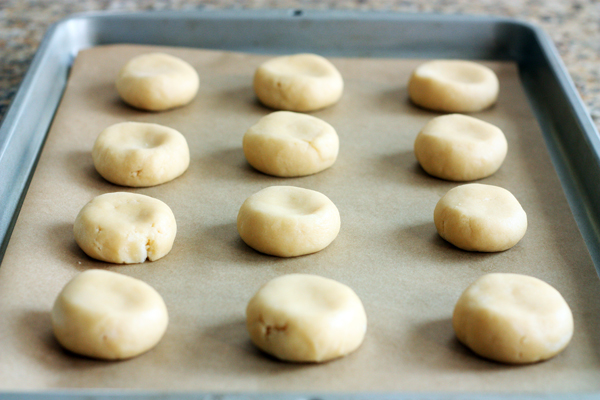
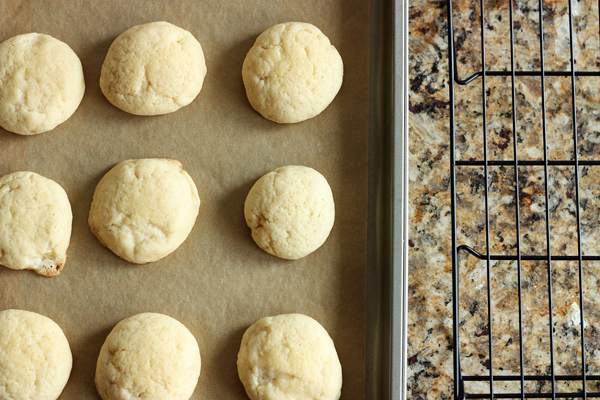
When you bake these cookies, don’t be tempted to let them brown. These cookies must remain soft, so you’ll want to pop them out of the oven when they are just barely beginning to brown on the bottom edges. In fact they may still glisten a bit on the top, but they’ll finish cooking as they cool.
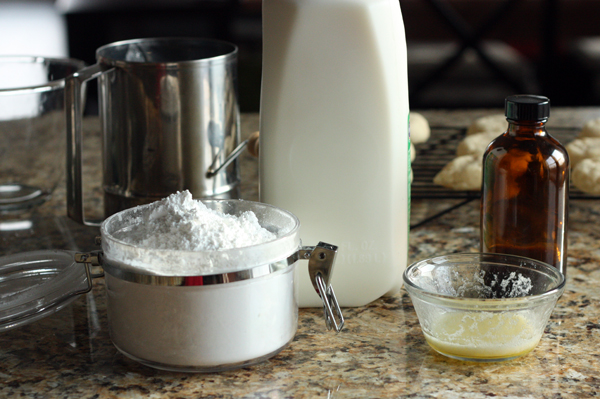
Once the cookies are cool, it’s icing time! This frosting is just about as basic as the cookies (honestly, how have I never made these cookies before?) and it comes together quickly.
Because it’s March and I’m desperate to see ANYTHING green, I added a couple drops of green icing color. It doesn’t take much, and you can obviously dye your icing whatever color you want.
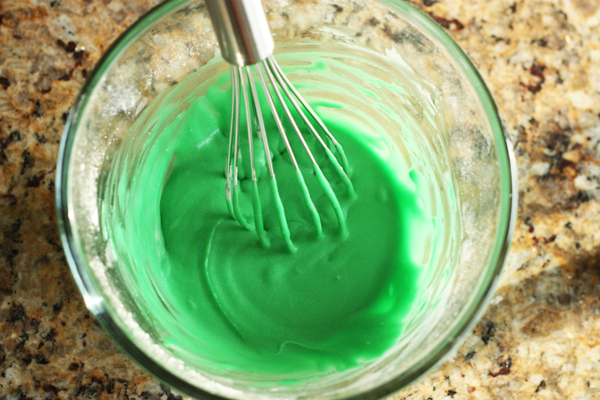
Once the icing is mixed, you’ll need to work quickly before it begins to set. Now it’s not going to freeze up instantly, but this is not the kind of icing you can abandon for a couple of hours while you do something else.
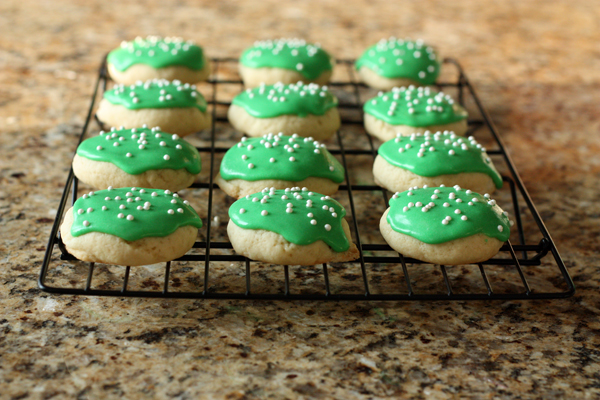
In fact, I worked one cookie at a time, adding sprinkles as I went, to avoid the surface hardening before I could ice all twelve. I used pearl sprinkles because I was feeling fancy, but you can use sanding sugar or ice cream sprinkles or even chocolate curls.
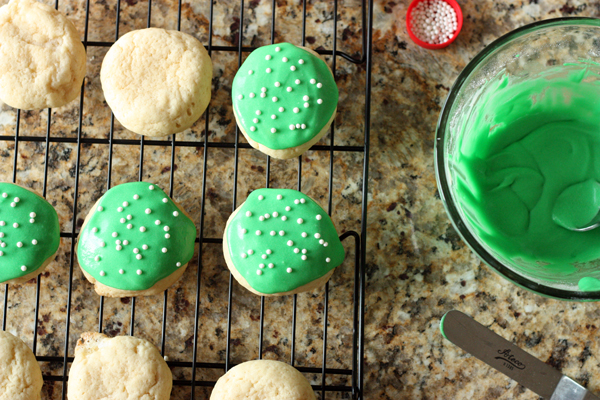
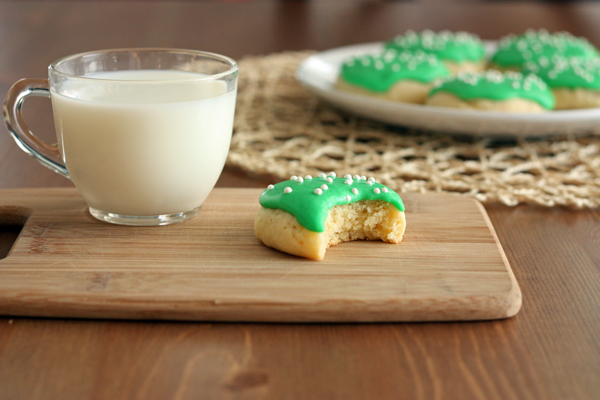
Soon, you’ll have a rack of the prettiest little cookies you ever did see. They’re quick and easy, so you can whip up a batch on relatively short notice. They’re not overly sweet, soft as can be, and can be dressed up in whatever colors you like. And since they’re best eaten within a day or two of baking, they’d make a killer hostess gift, birthday treat, or dinner party contribution.
Maybe I’ll start making more cookies after all.
Frosted Fluffy Sugar Cookies
Adapted from Beantown Baker
Makes 12 cookies
Notes: The recipe can be easily doubled, tripled, quadrupled… you get the idea. Also, the icing recipe listed below makes just enough for twelve cookies.
For the Cookies
1 1/2 c all-purpose flour
1 1/2 tsp baking powder
1/2 tsp salt
1/2 c (1 stick) unsalted butter, softened
1/2 c sugar
1 egg
1 1/2 tsp vanilla extract
1/2 tsp almond extract
In a medium bowl, whisk together flour, baking powder, and salt. Set aside. Cream together the butter and sugar in the bowl of a standing mixer (or other large mixing bowl) until slightly lighter in color, about 3-4 minutes in the standing mixer. Add the egg and beat until combined, scraping down the bowl once or twice. Add the vanilla and blend. Add the dry ingredients and mix on low speed just until completely combined, scraping down the bowl at least once to collect all the dry ingredients. Cover bowl with plastic wrap and refrigerate for 1-2 hours.
Preheat oven to 350°F. Line a large baking sheet with parchment. Remove dough from the refrigerator and discard plastic wrap. Form twelve balls, each about 1 1/2″ inches in diameter, using the palms of your hands to form them into balls. Space evenly across the baking sheet leaving about two inches between them. If you have any remaining dough after you have formed all twelve balls, add bits of dough to the smaller ones and re-roll.
Press the heel of your hand gently onto each ball so that it forms a thick disc. Bake at 350°F for about 11-12 minutes until bottom edges have barely begun to brown and tops still glisten slightly. Do not overbake, as cookies will dry out quickly if baked too much.
Remove pan from the oven and allow to cookies to rest for 3-5 minutes. Lift cookies onto a cooling rack and allow to cool completely before frosting.
For the Icing
1 1/4 c powdered sugar, sifted
1 1/2 T unsalted butter, melted
3/4 tsp vanilla extract
2 T milk (plus a bit more if needed)
a couple drops of gel color (if desired)
sprinkles (if desired)
Sift powdered sugar into a small bowl. Add melted butter, vanilla, milk (start with 2 tablespoons), and gel color and whisk together. If icing is a bit too thick, add just a bit more milk. Icing should be thick enough that the tracks of whisk form when stirred but disappear within 5-6 seconds once the whisk is still.
Spoon a small dollop of icing onto a cookie and spread gently with a knife. If you’re using sprinkles, add them now. Work one cookie at a time: the icing will begin to harden within minutes of being applied, so your sprinkles may not stick if you wait until all cookies have been iced.
Serve immediately, or allow icing to harden for a couple of hours. Once the icing has hardened, store cookies in an airtight container.
These cookies are best the day they are baked, but they’re mighty fine the next day as well. I couldn’t tell you how long they last after that because they’ve always been eaten by the second day!
Suzy Horvath
March 13, 2014 @ 8:11 pm
Yea and yum! I will try these! And they are green!!!!! :)