Raspberry Cheesecake Bars
Hello!
I’m so happy to say that. You may have thought that I had given up the goat, abandoned this little blog and buried it in the snow of this long, deep winter. But the truth is I just, quite simply, haven’t had the time or creative energy to handle it these last couple of months. Between the final events push of the fall semester at Duke, co-hosting a holiday party, moving out of my sublet, traveling for the holidays, camping on a friend’s couch for two weeks, saying goodbye to Durham, moving to Columbus, unpacking, organizing, starting a new job, visiting old friends, re-organizing, visiting more friends, and enjoying the company of Brad again, my camera has sat dormant for just over two months.
This move was a toughie. I started my new job almost immediately upon my arrival in Columbus, and the cold weather provided me with little incentive to do much more than curl up in blankets when I got home each night. It’s taken several weeks to get used to my new kitchen. I’ve spent several evenings lamenting the fate of meals I nearly burned to death as I try to get used to cooking on a glass-top stove. I keep reaching for things where they used to be in my old kitchen. The pantry, still, is a total nightmare, as I have yet to find several hours to sit down and really consider where everything should go (doesn’t everyone do that?)
But finally, the time came this weekend for me to break out a recipe I’ve wanted to share with you since I started this blog. I must say, glass stove and messy pantry aside, I can’t deny that my current kitchen is far more equipped for blogging than my last, primarily due to one giant feature.
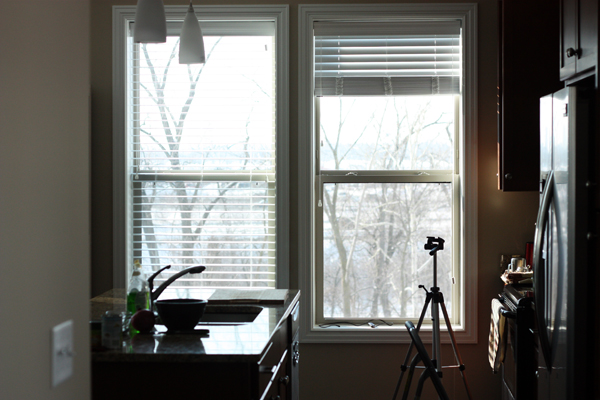
Light, glorious light! Flooding in to every corner of our apartment, these gaping sunny windows line the southern and western walls of our new home. They overlook a park and a river and trees and some sort of weird oyster-and-pearl sculpture. Admittedly, also a freeway, but I confess it is somewhat fascinating to watch the sludge of evening traffic heading north after Brad and I have already arrived home.
The point, here, is that not only did I shoot one recipe this weekend, I shot three! Complete with the natural, angular light that I love to shoot in. No more toting cutting boards topped with carefully balanced ingredients to the office!
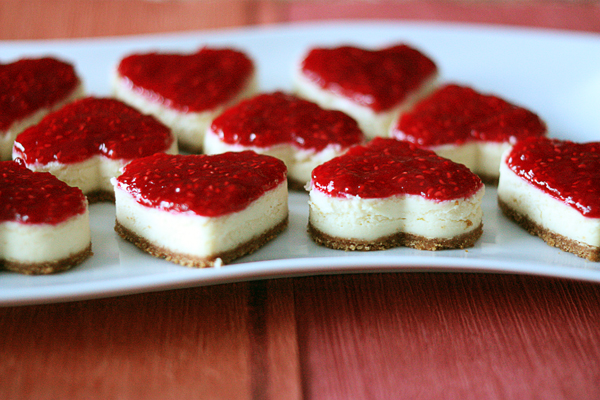
Let’s get started, shall we? Three years ago, about two weeks BEFORE I decided to start a food blog, I made these compact cheesecake bars to celebrate Valentine’s Day. Thinner than normal cheesecake, they can easily be eaten without a fork and can be made in any shape you so desire.
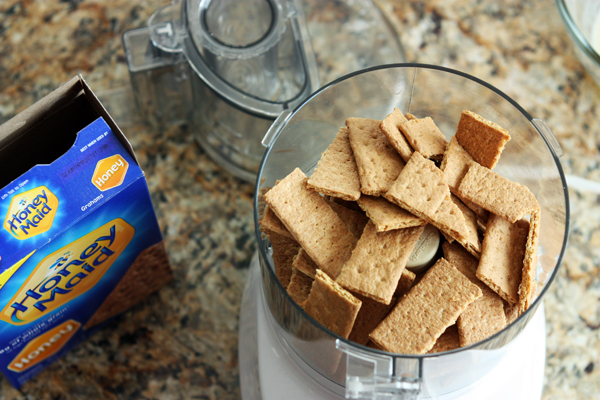 Like most decent cheesecakes, this one starts off with a pile of graham crackers. Now yes, I know you can buy graham cracker crumbs, but I always feel like they taste stale and are far to fine-grain for my liking, so I prefer to buy graham crackers whole and then grind them up to my liking in a food processor. You can also put them in a zippered bag and snack them repeatedly with a meat tenderizer or rolling pin, which may not give you as even a consistency, but is certainly more fun.
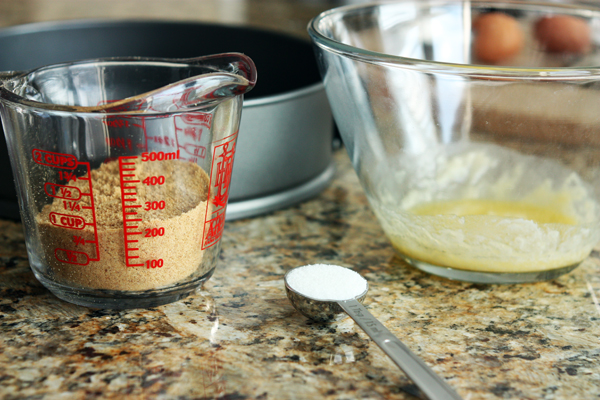
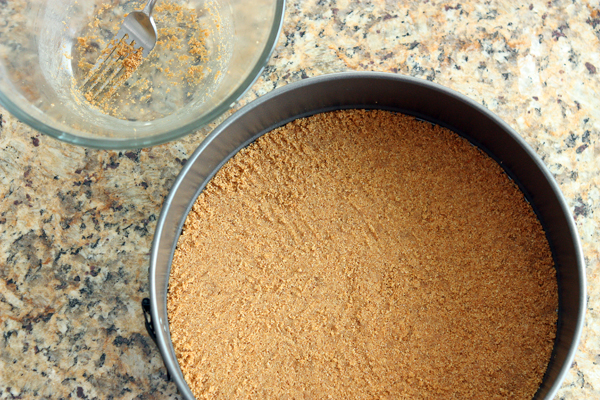
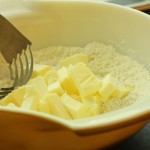
Combined with butter and a bit of sugar, the crumbs are pressed into the bottom of a spring form pan. Don’t have one? You could also use a pie plate, so the side will be sloped and you won’t have quite the same effect. I picked up a set of three spring form pans for less than $15 I think, so if cheesecake is your thing, I recommend the investment.
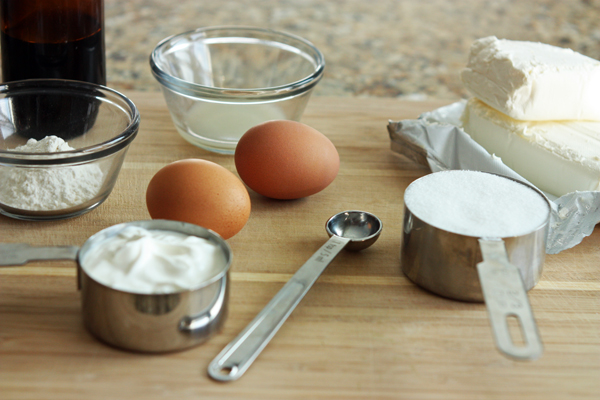
Next! While the crust hardens up a bit in the oven, the luscious cheesecake itself can commence. The ingredients themselves are fairly simple: cream cheese (obviously), eggs, sugar and four, lemon juice and vanilla. And sour cream, which in my opinion is the most important element of making this cheesecake tangy and tart.
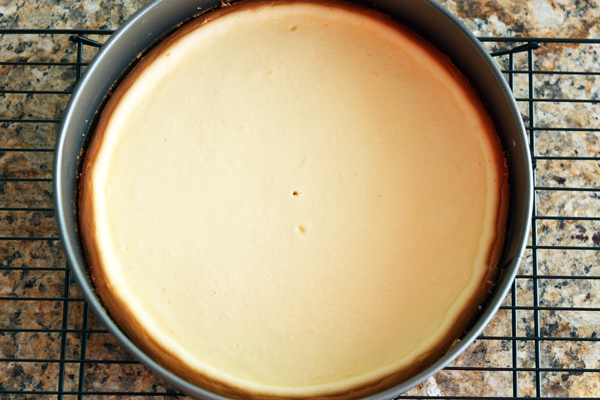
Though this is delicious enough to eat immediately (raw eggs or not) it needs almost an hour in the oven. After which you’ll be glad you cooked it!
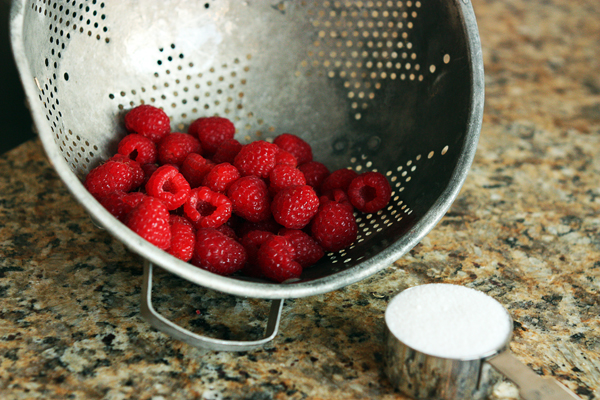
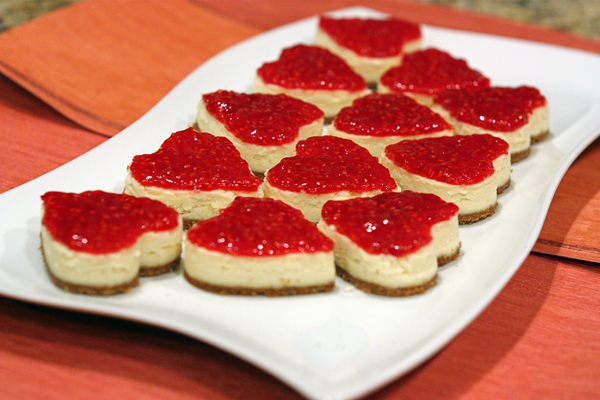
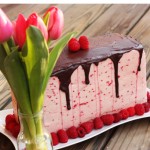
While the cheesecake cools to room temperature, you can cook the berry topping. Now honestly, I tend to prefer cheesecake plain in most instances, but I really love the way these bars taste and look with a ruby red layer of fruit atop the creamy filling. Three layers are so pretty!
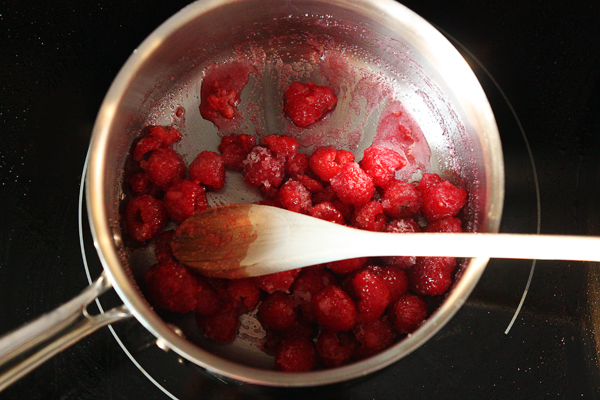
Our mission with these berries is to create a quick jam. And that is exactly what it sounds like. Berries + a bit of sugar + heat + time = jam. With such a small quantity, it doesn’t take more than about 10 minutes to get a berry topping that will hold its shape on the cheesecakes.
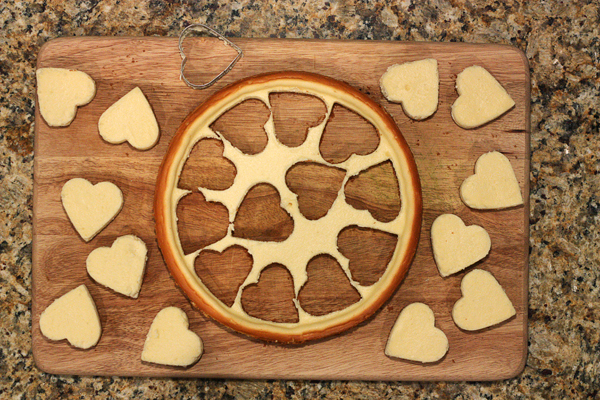
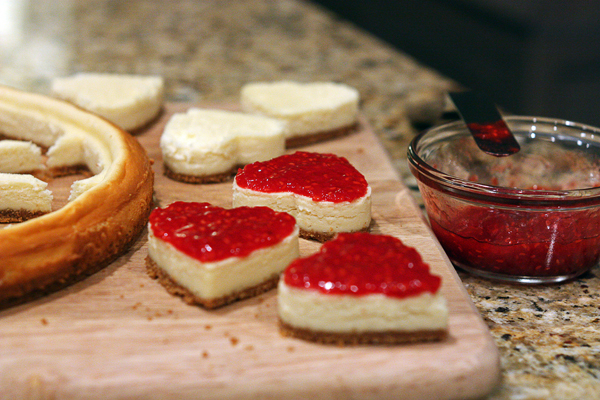
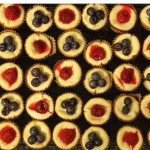
Once the cheesecake and the jam have cooled to room temperature, it’s time to make bars! For this particular set, I used a heart-shaped cookie cutter, but you could also just as easily slice them into narrow wedges, squares, rectangles, whatever shape you like. Using a cookie cutter requires a bit more time as you have to carefully ease the cheesecake out of said cookie cutter. I also rinsed mine after every cut to make the cuts smoother.
Once the cheesecakes are cut, it’s topping time! Again, this takes a little finesse so that your topping doesn’t become siding, but it’s nothing a small cake knife can’t handle.
 I love raspberries above all other fruit toppings, but you could easily swap them out for strawberries, blueberries, or blackberries. Or further still! You could top these with chocolate, caramel, whipped cream… if you can imagine it tasting good on a cheesecake, you can use it.
And the best part? Once your showy little hearts are ready to go, you still have allllll theeeeese leftovers.
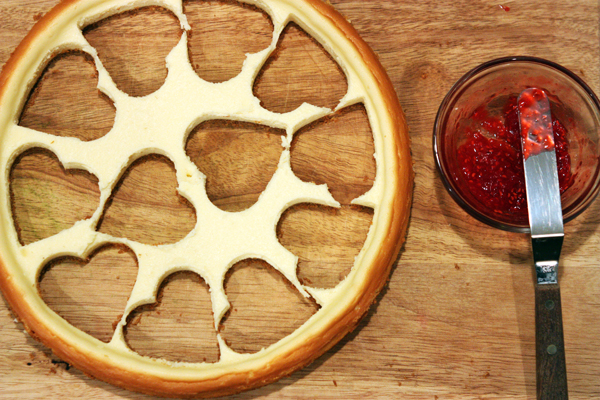
I’ll give you one guess as to what happened with those.
So Happy Valentine’s Day everyone! Let’s eat cheesecake together to celebrate!
Raspberry Cheesecake Bars
Adapted generously from The Pampered Chef
Makes one 10″ cheesecake, which can be sliced or cookie-cuttered into about twelve bars
For the Crust
1 c graham cracker crumbs (one package from a box of graham crackers)
4 T unsalted butter
1 T white sugar
Preheat oven to 300°F. Crush or grind the graham crackers into fine crumbs. In a medium bowl, melt the butter until liquid. Add the graham cracker crumbs and the sugar and mix with a fork. Press the crumb mixture evenly into the bottom of a 10″ spring form pan with a fork, keeping the mixture on the bottom and not spreading it up the sides. Bake for 10 minutes and remove to a cooling rack while you prepare the filling.
For the Filling
16 oz cream cheese (2 packages) at room temperature
2/3 c white sugar
1/8 c all-purpose flour
2 eggs at room temperature
scant 1/2 c sour cream
2 tsp lemon juice
1 tsp vanilla
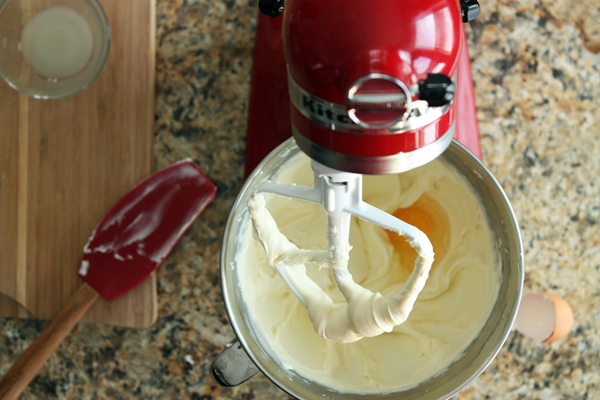
Beat cream cheese, sugar, and flour for several minutes until fluffy, scraping down the bowl with a spatula once or twice. Add eggs one at a time, mixing well between each one. Add sour cream, lemon juice, and vanilla and beat on medium for about five more minutes, scraping down the bowl a couple of times throughout.
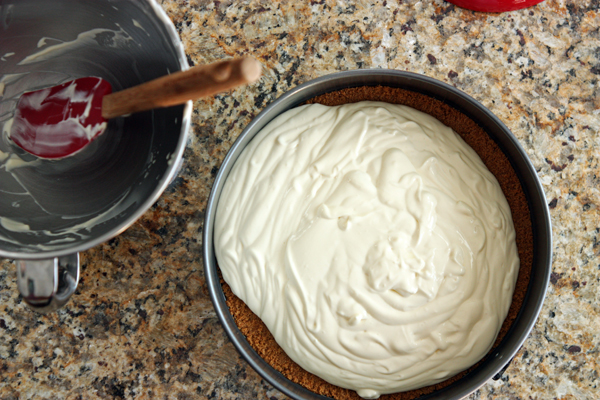
Pour filling into the crust and spread evenly with a spatula. or knife, all the way to the edges. Bake for 45-50 minutes until the center of the cheesecake is not jiggling. Remove to a cooling rack and run a knife around the edges of the pan. The cheesecake will deflate as it cools. Cool to room temperature, then refrigerate.
For the Topping
6 oz fresh or frozen raspberries, thoroughly rinsed
1/4 c granulated sugar
Combine berries and sugar in a small sauce pan over medium-high heat. Stir often, breaking down the berries as they heat up. Once the mixture begins to boil lightly, stir more frequently and cook for 8-10 minutes. The mixture should thicken slightly until it slowly runs off the spoon. Remove from the heat and pour into a small bowl and set aside to cool.
Assembly
Carefully remove the ring from the spring form pan and set aside. Gently slide the cheesecake off the bottom of the pan onto a cutting board, using a flat spatula or knife if needed. For shaped bars, use a cookie cutter (as deep as you can find!) to press all the way through the cheesecake. You may need to use a knife or flat spatula to get the cheesecake out of the cookie cutter. If you don’t want to hassle with a cookie cutter, slice the cheesecake into rectangles, triangles, or wedges.
Carefully spread a layer of the raspberry topping over each bar, about a quarter of an inch thick.
Refrigerate for at least four hours or until ready to serve.

Sara
February 14, 2014 @ 1:45 pm
Yay! You’re back! :)
Raspberry Cheesecake Bars Recipe - RecipeChart.com
February 14, 2014 @ 4:54 pm
[…] Full Recipe Link: http://www.30poundsofapples.com/2014/02/raspberry-cheesecake-bars/ […]
Sarah
February 15, 2014 @ 10:10 am
These look noms. I’m going to have to make time to make these. Welcome back to Ohio!
Sara
February 16, 2014 @ 4:55 pm
Hi! I found your blog searching for dumplings and now I discovered other delicious recipes like this! Soo nice, I’ve added you on my blog list ;)
Raspberry Cheesecake Bars!Stylish Board
September 5, 2015 @ 3:52 pm
[…] Via: 30PoundsOfApples […]