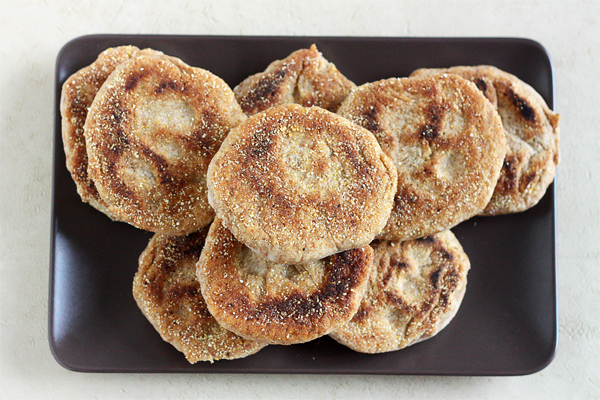
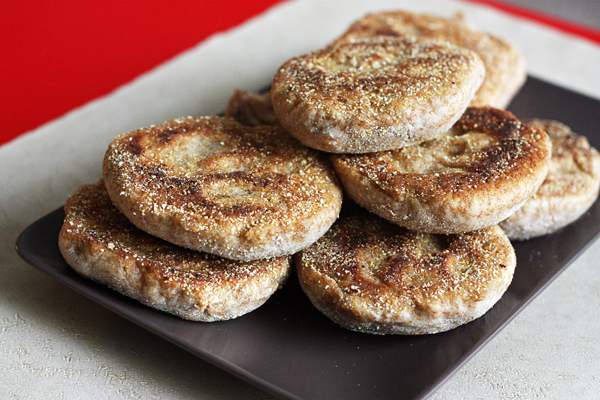
Whole Wheat English Muffins
I don’t eat a lot of sandwich bread. Brad can finish off a loaf of bread in three or four days, even faster if he’s trying to eat at home. I, on the other hand, have a tough time getting through even half a loaf before it takes a turn for the moldy.
I’ve always tended to prefer my breads in other forms. Tortillas, bagels, biscuits, cornbreads, and baguettes are much more likely to appeal to me than a loaf of sandwich bread. And more recently, English muffins.
Considering that I love finding ways to replace my store-bought staples with homemade versions, I am somewhat ashamed to admit that I really haven’t spent a lot of time focusing on breads. I do have some go-to recipes for quite a few quick breads, but not many that I cook on a regular basis (the dramatic exception being my favorite, favorite cornbread, which ends up on my menu quite frequently). So when I ran across a recipe for this, my current bread-of-choice, I decided it was time.
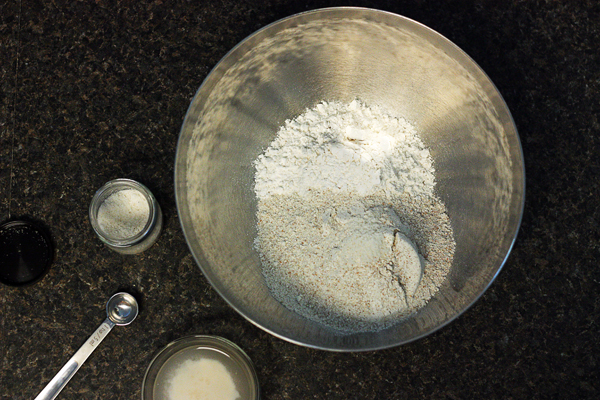
To bulk up the nutritive value of these muffins a little bit, I swapped out about half of the all-purpose flour for whole wheat. I don’t like baking with ONLY whole wheat flour because the final product is incredibly dense, but I was really happy with the balance on these. The whole wheat flour adds a nice nuttiness, as well as some darker color and texture. Aside from the flour, the only ingredients needed for the dough are salt, yeast, and water.
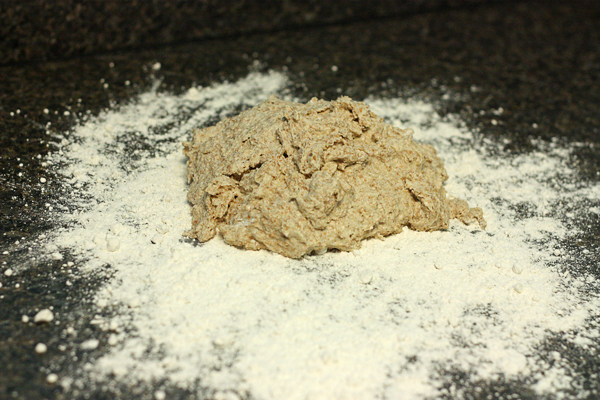
The dough starts off sticky but after several minutes of vigorous kneading turns into a soft, smooth ball. Magic!
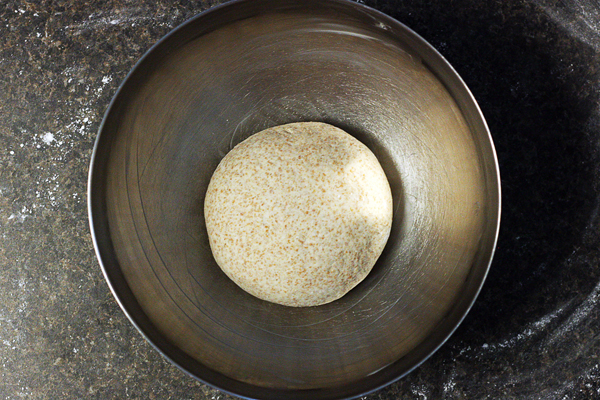
Now here, perhaps, is the hardest part of bread-making: the wait. This particular recipe has two raises: one overnight for the unshaped dough, and one shorter one, about two hours, once the muffins have been formed. If you take out the waiting time, though, it really doesn’t take long to make these muffins. You just have to plan.
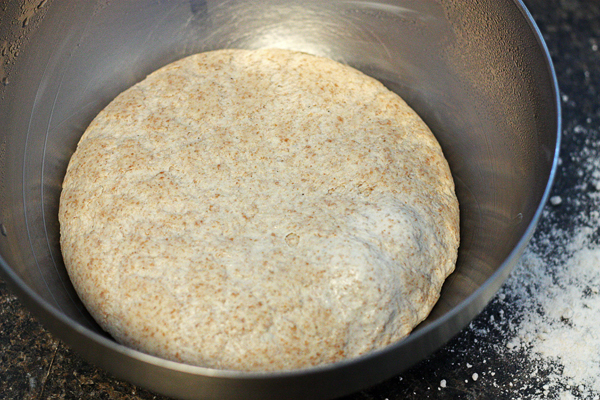
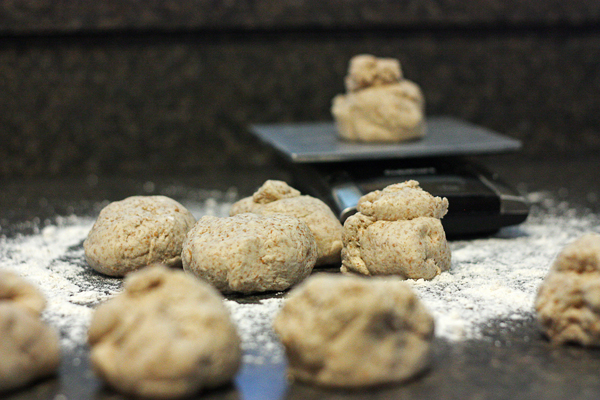
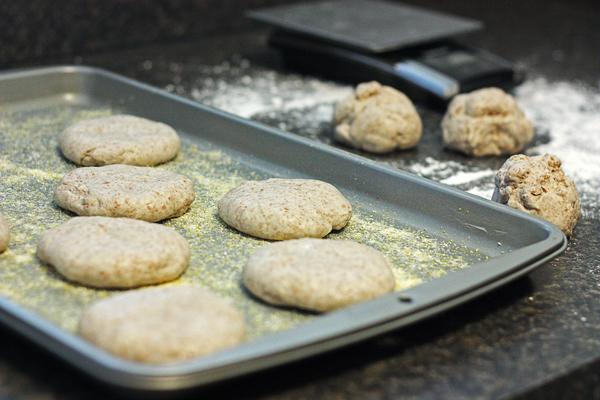
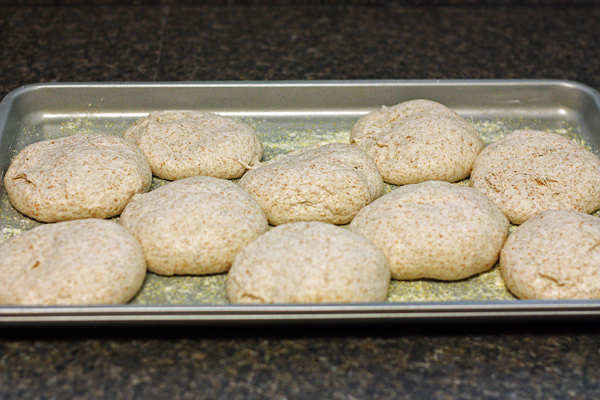
Once the dough has raised overnight, it will be really easy to break it into muffins. This recipe makes ten muffins. To make sure I had all of mine the same size, I used my kitchen scale to weigh each tenth. Once measured, each wad of dough is formed into a muffin-shaped disc for the final raise.
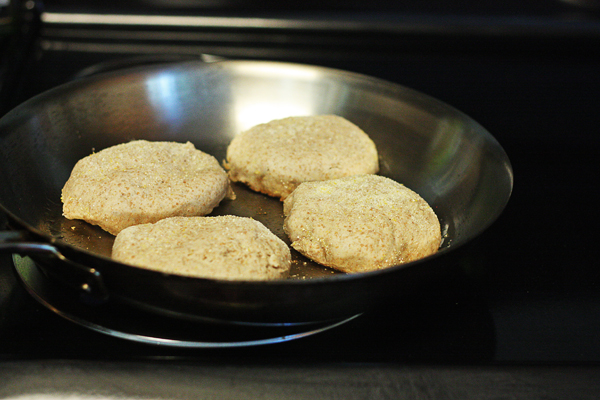
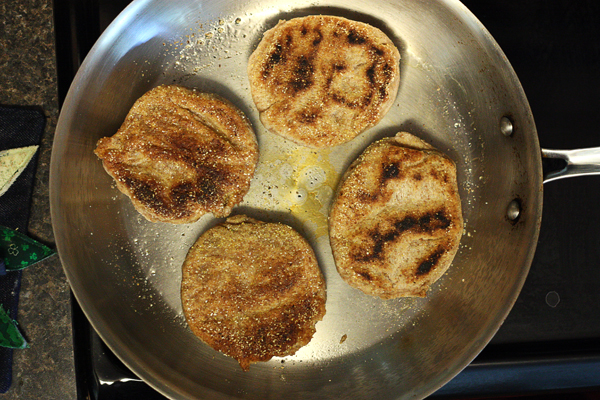
And then! My favorite part of baking English muffins was the discovery that they aren’t even baked. Nope. These little guys are actually cooked on the griddle (or in my case, in a frying pan), which gives them nice crispy crusts and a chewy, porous center.
Cool, huh I had no idea!
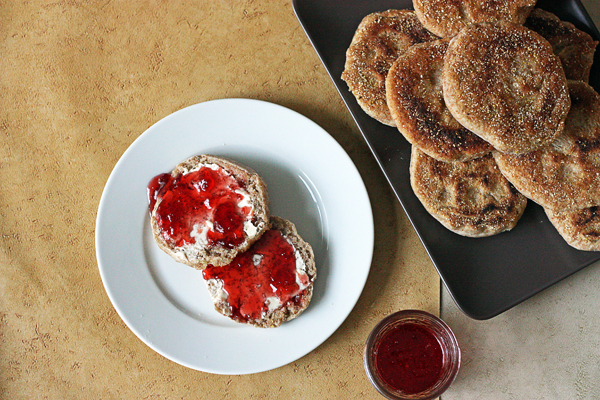
Once they’re done cooking, these muffins can be sliced open immediately, stored in a bag on the counter for 4-5 days, or frozen for about a month. Perhaps, this will mean for you ten days of muffins sliced open and served warm, slathered in butter and jam for those of you who like your breakfasts sweet.
Or, if you’re more like me and prefer a savory, protein-filled breakfast, these make the perfect foundation for your very own homemade breakfast sandwiches. How about ten days of a toasted muffin featuring a gently fried egg topped with cheese and a thin slice of Canadian bacon?
SIGN. ME. UP.

Whole Wheat English Muffins
Adapted from Tasty
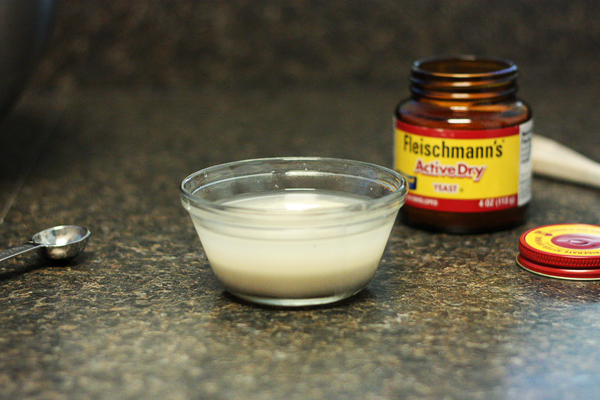
1 tsp active dry yeast
1 1/2 c warm water, divided
2 1/2 c all-purpose flour
1 1/2 c whole wheat flour
1 tsp coarse salt
solid vegetable shortening
cornmeal
Dissolve yeast in 1/2 c warm water. Allow it to sit for a few minutes until it’s somewhat frothy in appearance. Combine flours and salt in a large mixing bowl and mix well with a fork. Add the yeast mixture and the remaining 1 c water. Stir with a sturdy wooden spoon to make a dough. Dough will be fairly sticky.
Empty the bowl onto a well-floured surface and knead for 5 to 10 minutes, adding more flour as needed to create a smooth, firm ball of dough. Clean out the mixing bowl and grease with shortening. Place the dough ball in the bowl and cover tightly with plastic wrap. Refrigerate overnight.
The next morning, grease a large cookie sheet with shortening and sprinkle generously with cornmeal. Remove the dough from the refrigerator and remove from the bowl. Punch it down on the counter and divide into even tenths. I weigh the whole ball of dough on a kitchen scale and then divide by ten, weighing each piece to ensure the muffins are the same size. Roll each piece into a ball and then flatten between your palms, forming a disc about three inches across. Place each disc on the cookie sheet at least an inch apart. You should just barely have room for all ten muffins. Cover lightly with plastic wrap and let rise in a warm place for about 2 hours.
Heat a large frying pan or cast iron skillet over medium heat. When hot, scoop about a tablespoon of shortening into the pan and tilt it so it melts evenly over the pan. Carefully slide a spatula under the muffins and place cornmeal-side down in the pan. Turn the heat down to medium low and cook for about 8 minutes. Check the underside of the muffins every few minutes to ensure they are not burning. Flip the muffins over and press down on them gently with the back of the spatula. Cook for another 8 minutes. Once the first batch is done, add a bit more shortening and continue with remaining muffins (I could only fit four muffins in my pan at a time).
Muffins can be served immediately, and they are truly delicious when fresh! However they also store well. To store, cool completely and store in a zippered bag with the air squeezed out. Store on the counter for 4-5 days or in the freezer for up to a month.


Eileen
October 1, 2013 @ 11:52 pm
English muffins are one thing I’ve never baked before–but I think I’m going to have to give them a try, because they look SO GOOD.