Homemade Wonton Wrappers + Pork & Ginger Apple Potstickers
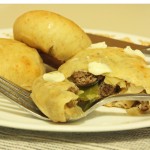
I told you on Thursday, when I posted this Ginger Apple Chutney, that I would have a recipe utilizing it that would blow your dang socks off. This, my friends, is it.
I must be honest: until about one year ago, I never so much as ordered potstickers or Chinese dumplings as take-out. I thought they looked, frankly, kind of gross. So sad and pekid compared to the seemingly superior fried wontons farther down the menu.
Oh, how times have changed.
Suddenly, I’ve become obsessed with these tiny pouches of savory filling. I order them whenever I find them on a menu and often abandon any pretense of planning to order an entree, simply doubling up on potstickers. As someone who loves ravioli, finger food, and anything dippable, I really can’t say why it took me 25 years to see the salty, potsticker-y light.
And what better way to truly embrace the potsticker than to make them from scratch? Having found this fantastic recipe for filling, I also wanted to try my hand at making homemade wonton/potsticker wrappers. That’s just sort of what I do here.
While it is a bit time-consuming and I totally understand if you want to buy yours from the store, I urge you to try it at least once from scratch, especially if you have a pasta crank. These homemade wrappers are soft, not at all rubbery, and can be made in any size that you want (though I found a 3-inch diameter to be absolutely perfect).
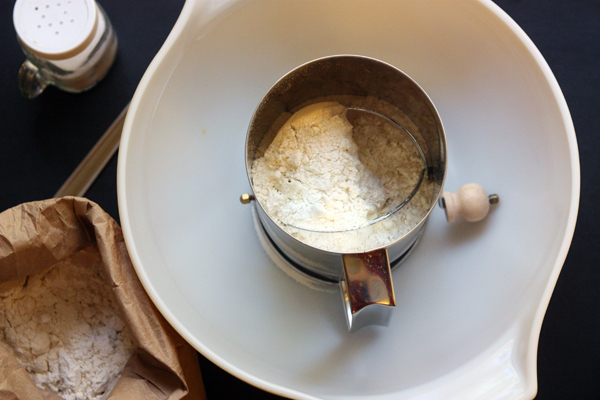
Like most doughs, homemade wonton wrappers start with a sifter full of flour, some warm water, and a fork.
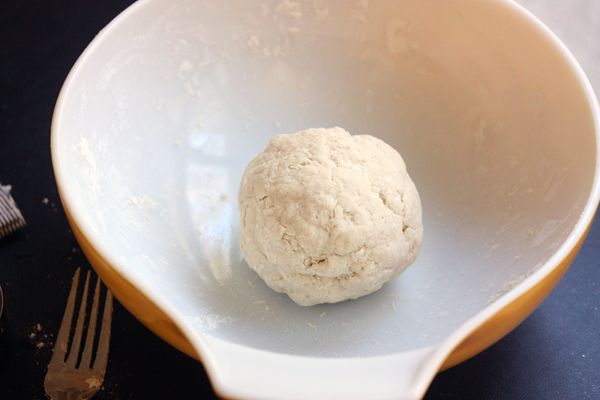
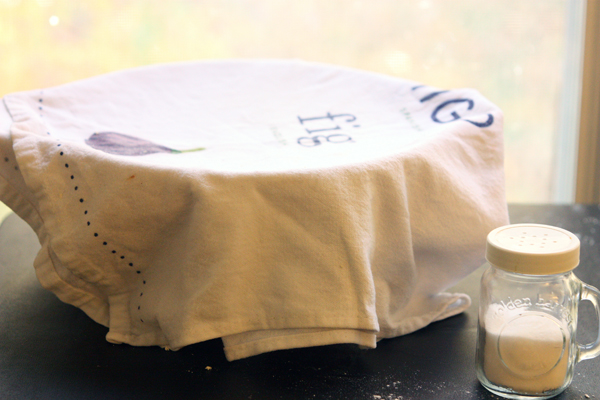
Once the dough is mixed, barely pliable due to its low moisture content, it needs to sit for a while. Just cover the bowl with a damp cloth so the little moisture that IS in this dough doesn’t escape.
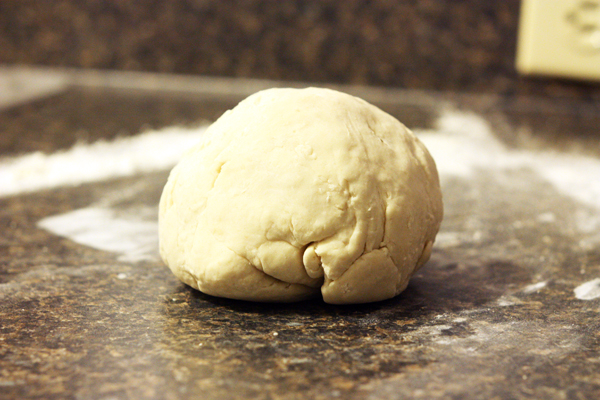
After an hour or so, the dough is kneaded for a few minutes until it’s fairly smooth. From here, you have a few options to turn this mound of wheat flour into paper thin wonton wrappers. The source recipe I used for these recommends rolling the dough into a log, slicing the log into discs, and rolling each disc to the desired thickness that will hopefully yield a 3-inch circle.
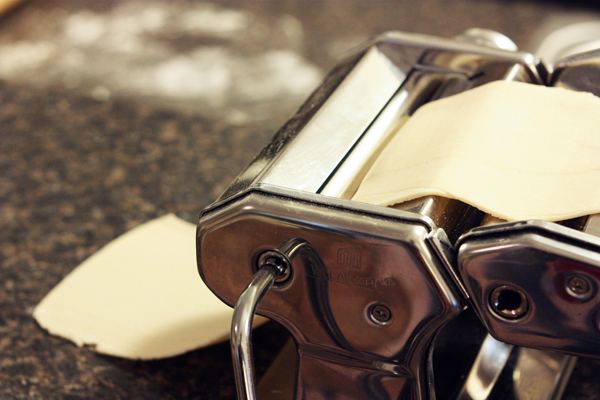
I decided to scrap those suggestions and take advantage of two of my favorite kitchen gadgets: my pasta crank and a 3-inch Tartmaster (whose full talents weren’t utilized today but that I’ve used on other projects).
Let me once again bestow praise upon my pasta crank. No, it’s not something you absolutely need in your kitchen. But if you have any of the DIY pasta impluses that I do, I highly recommend the investment. I bought a pretty cheap one for about $35 a couple years ago, and for my purposes, it serves me incredibly well. I daydream about those beautiful, fandangled KitchenAid pasta attachments, but I’m gonna need to wait for a wealthier day than this to add those to my arsenal.
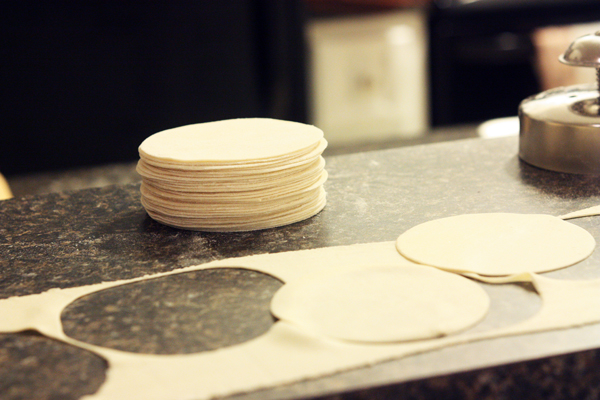
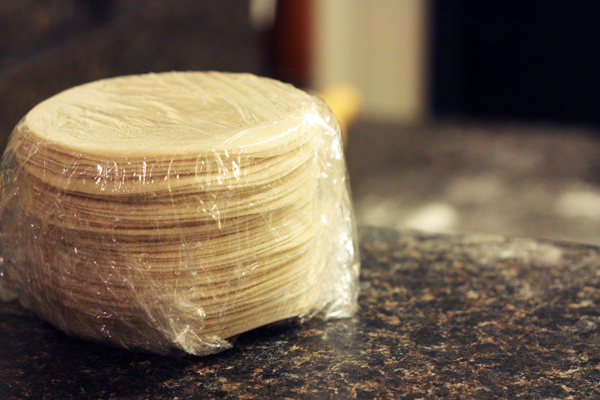
But in the meantime, I still used this cheap little crank to form about 50 perfectly round, uniform wonton wraps.
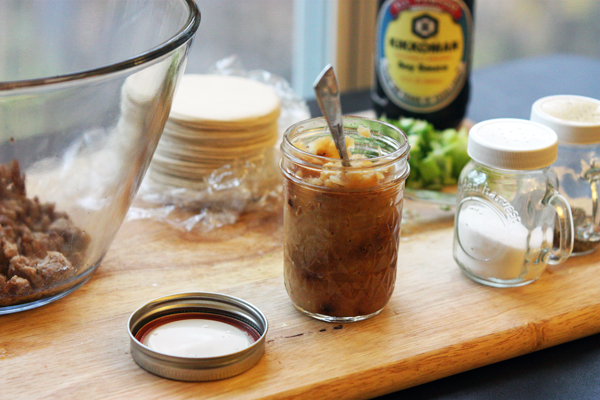
With my tidy little stack of wonton wraps ready to go, it was time to start the filling. I’d already made a batch of ginger apple chutney, so the rest of the filling came together rather quickly. Don’t worry: if you don’t can and don’t want to make the full-size batch, I’ve included a proportional recipe below that will give you just the right amount to make this filling. So you have no excuse.
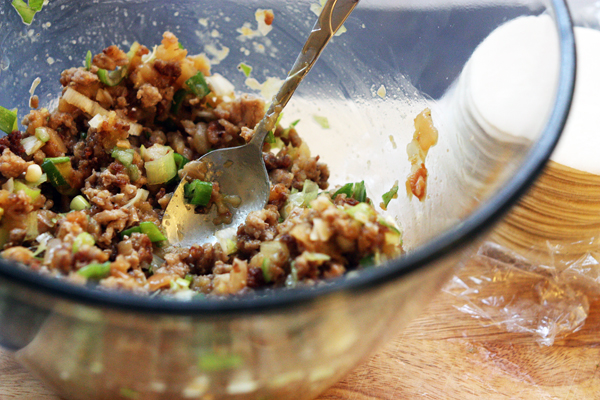
The chutney is added to a pound of ground pork, which is seasoned with a bit of soy sauce and studded with some fresh, green scallions. It took all of my willpower not to shovel spoons full of it before a single potsticker was made.
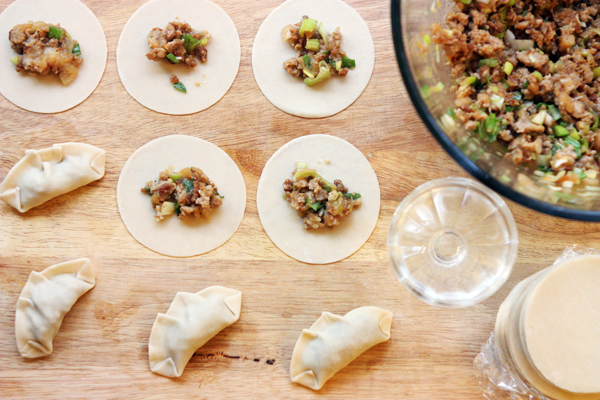
But I resisted. And soon, my little potsticker factory was a-churnin’.
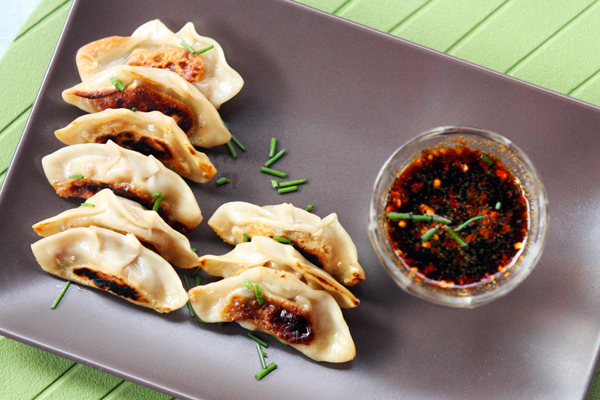
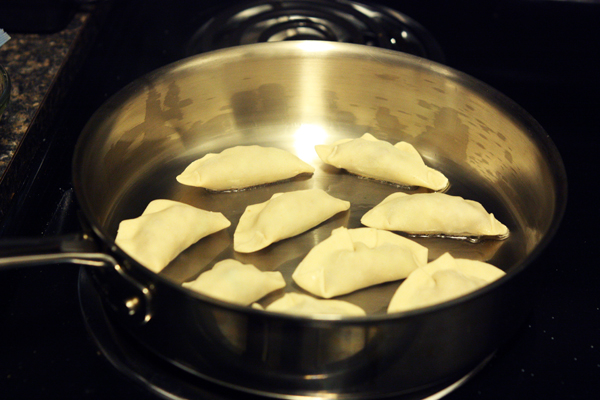
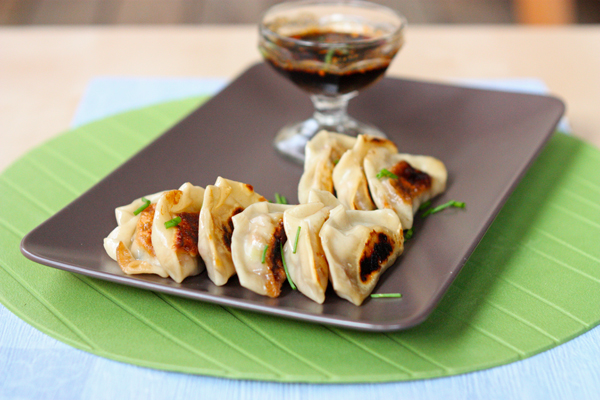
To cook them, the key is to have a flat-bottomed pan with a lid. A sauté pan is perfect, but a lidded frying pan or even a wide, lidded pot will work in a pinch. The potstickers are first pan-fried on one side in a bit of oil and then blasted with a little chicken stock to steam. They cook very quickly, so make sure you don’t start cooking them until right before you are ready to eat.
Because trust me: once you do have them cooked, you will absolutely not be able to resist eating every single potsticker in sight.
Homemade Wonton Wrappers
Adapted from La Fuji Mama
Makes 40-55 wrappers
2 c all purpose flour
1/2 tsp salt
about 3/4 c very hot water
additional flour for rolling
Sift flour and salt together into a large, wide bowl. Add water a little at a time until you have about 1/4 c of water remaining. Mix flour and water with a fork or chopsticks to form a dough, switching to your fingers when it becomes too difficult to mix with a fork. Add as much of the remaining water as you need to gather all dry ingredients into the dough. Dough should be very stiff and not sticky. Form dough into a ball and leave it in the bowl. Cover the bowl with a damp cloth and allow dough to rest for one hour.
Once dough has rested, remove it from the bowl and knead for 5-10 minutes until dough is fairly smooth. Break off a small chunk of the dough and return the rest to the cloth-covered bowl. If you have a pasta crank, run the small piece of dough through the machine several times, starting on the largest setting and running the dough through at least one time on each setting all the way to “1”. The result should be a long, very thin piece of dough about 4-5 inches wide. If you do not have a pasta crank, roll the dough as thin as you can with a rolling pin on a floured surface.
Use a round cookie cutter or biscuit cutter about 3″ in diameter to cut out your wrappers. Dust each side generously with flour until the whole wrapper feels dusty and slightly gritty. This will allow you to stack the wrappers without them sticking together. Continue this process until all dough has been utilized, recombining the scraps to prevent wasting any.
Wrap stack of wrappers tightly with plastic wrap and refrigerate until you are ready to add the filling.
Pork & Ginger Apple Potstickers
Adapted from Katie at the Kitchen Door and Alton Brown
Makes 40-45 potstickers
NOTE: I thought it would be a brilliant idea to cook half of these & save the rest for the next day in the fridge. It was not. They all stuck together and tore as I tried to separate them. If you don’t want to cook them all at once, I recommend either keeping the filling separate and making the potstickers right before you cook them, or, you can freeze the constructed potstickers on a cookie sheet and then bag them up for storage. Then, thaw them out for a couple of hours before cooking.
For the Filling
40-50 wonton wrappers (see recipe above or use store-bought, round if you can find them)
1 pound ground pork
1/4 tsp black pepper
2/3 c scallions, chopped into 1/4″ pieces (whites & greens)
3 T soy sauce
1 c ginger apple chutney
OR
Combine the following ingredients according to the instructions listed here to make a batch of chutney proportioned for the potstickers.
1/3 c onion, diced
2 tsp minced fresh ginger
2 medium crisp apples, peeled & diced into 1/4″ pieces
1 T lemon juice
1 tsp canola oil
1/8 tsp salt
1/8 tsp black pepper
1/4 c apple cider
1/4 c apple cider vinegar
If you are making the small-portion batch of chutney, prepare that recipe first and set chutney aside.
Cook pork until lightly browned using a spatula to break chunks into small pieces. Drain off the excess grease and place pork in a large bowl. Add the black pepper, scallions, soy sauce, and chutney and mix well. Adjust seasoning to taste.
Place 12 wonton wrappers out on a cutting board. Scoop 1-2 tablespoons of filling onto the center of each wonton wrapper. It may take you a few attempts to determine the right amount: the potsticker, when sealed, should be full but not so full that it cannot be sealed closed. Dip the tip of your finger into water and lightly moisten the edge of the wonton wrapper all the way around. Fold the edges together to form a half-moon shape and squeeze the edges to form a seal. For added seal and decoration, you can fold the corners in slightly and make small folds in the edging. Place filled potstickers on another board and cover with a cloth to prevent them from drying out. Continue until all filling has been used.
Cooking the Potstickers
canola or vegetable oil
chicken stock, about 1 cup
chopped fresh chives (for garnishing)
Heat a sauté pan that has a lid (though the lid should not be on it right now) over medium heat. Measure out 1/4 cup of chicken stock and set aside. Brush a bit of oil onto the surface of the pin to form a very thin layer. Place potstickers on their sides into the pan, adding as many to the pan as will fit with a bit of space separating them (I was able to fit 12 in at a time). Allow potstickers to cook WITHOUT MOVING THEM for 2-3 minutes. Holding the 1/4 cup of chicken stock in one hand and the lid of the pan in the other, quickly pour the stock into the pan and immediately place the lid onto the pan. Allow potstickers to steam, undisturbed, for an additional 3 minutes.
Remove lid and remove potstickers to a serving plate. Deglaze the pan with water and repeat the cooking process for the remaining potstickers.
Serve potstickers immediately, garnished with chopped chives and served with dipping sauce if desired.
For the Dipping Sauce
3 T soy sauce
1/4 tsp red pepper flakes
1/2 tsp garlic powder
1/4 tsp ground ginger
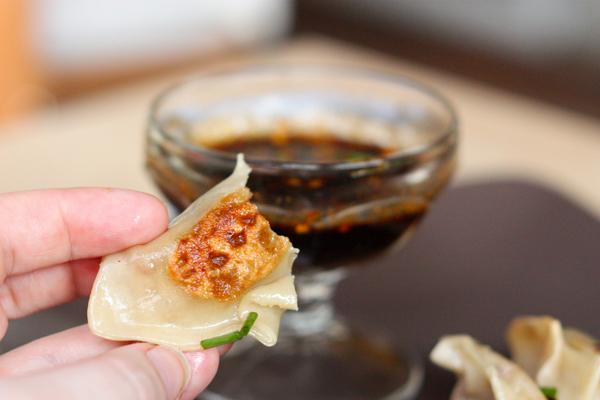
Combine ingredients in a small dish. Stir well. Dip potstickers very lightly into the sauce, a little goes a long way!



Suzy
December 2, 2012 @ 2:59 pm
Interesting! I have always felt the same way about potstickers….in the past! Must try these! Maybe after you get home????? Thanks!
Eileen
December 3, 2012 @ 2:53 pm
Potstickers are one of my favorites, but I can’t say I’ve ever made wrappers from scratch. That takes some serious effort–so go you! :) These do sound really amazing. OM NOM etc.
Kristi @ 30 Pounds of Apples
December 3, 2012 @ 8:31 pm
You should give it a try some time! I was so proud of them :)
Julia
December 4, 2012 @ 4:04 pm
Just found these on Food Gawker (I was gawking at how yummy they look!). Can’t wait to try!
Kristi @ 30 Pounds of Apples
December 4, 2012 @ 8:00 pm
I can’t wait to make them again… if you try them, let me know how they turn out!
Brad
December 21, 2012 @ 1:52 am
These were one of the tastiest things I have ever eaten. Seriously.
Wanda
January 30, 2013 @ 2:20 pm
Can the wrappers be made in advance and frozen?
Kristi @ 30 Pounds of Apples
January 30, 2013 @ 4:12 pm
Yes. I recommend a thick flour dusting if you plan to freeze so that they will not gum together when you thaw them.
Veronica
January 9, 2014 @ 8:57 am
Can I use rice flour?